Sunday 28 April 2013

Wheel Restoration Start (Day 253)

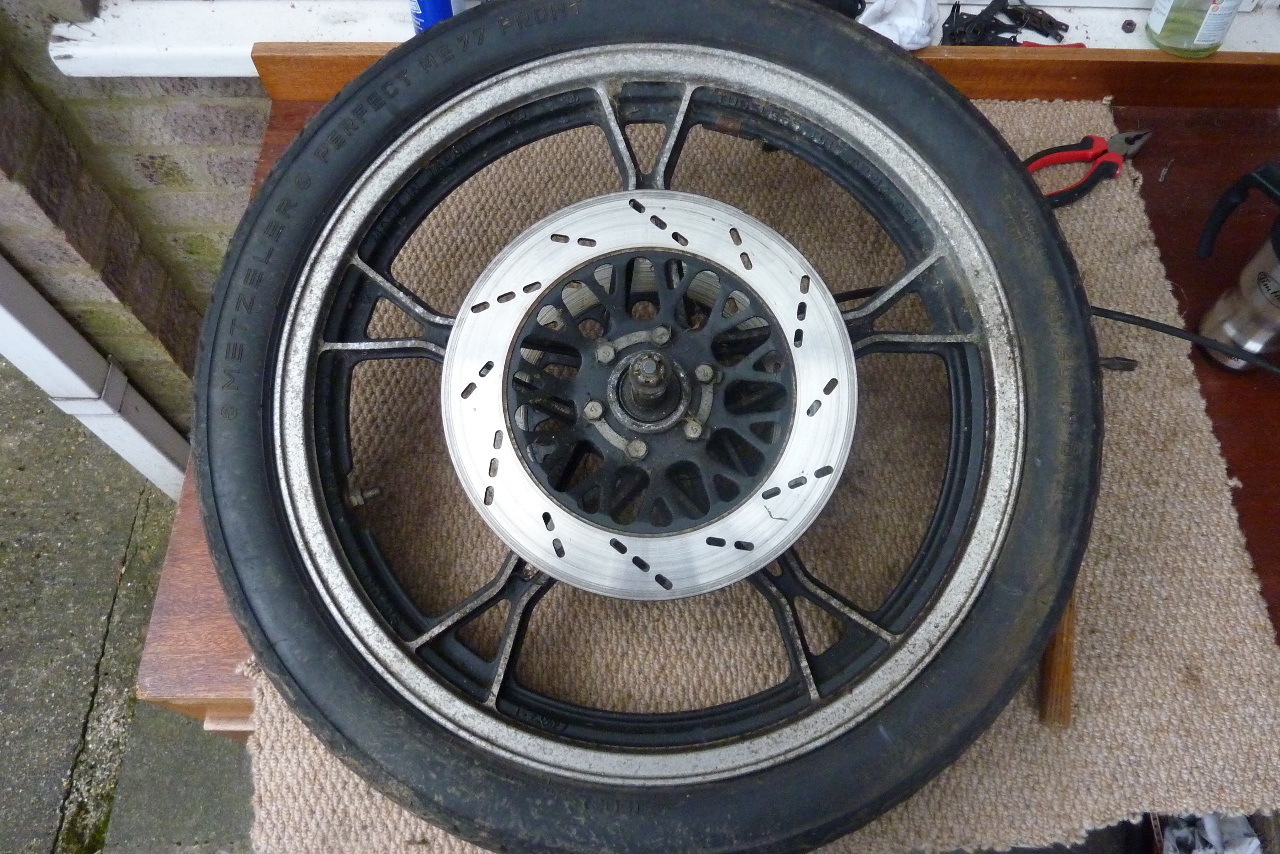
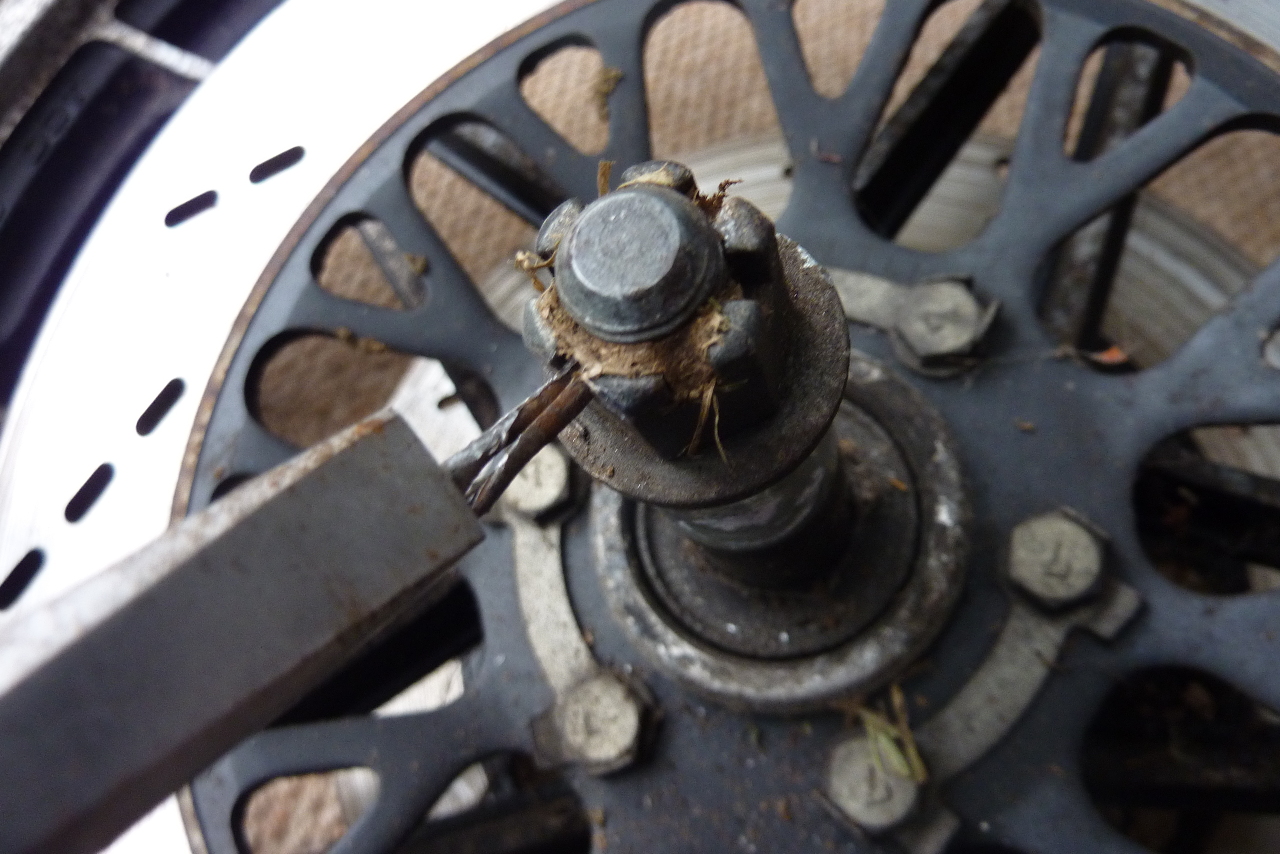
Wheels are off and ready to be cleaned or restored or even painted.  So where do I start?  This is what we are starting with; very oxidized but the black paint is in pretty good condition.

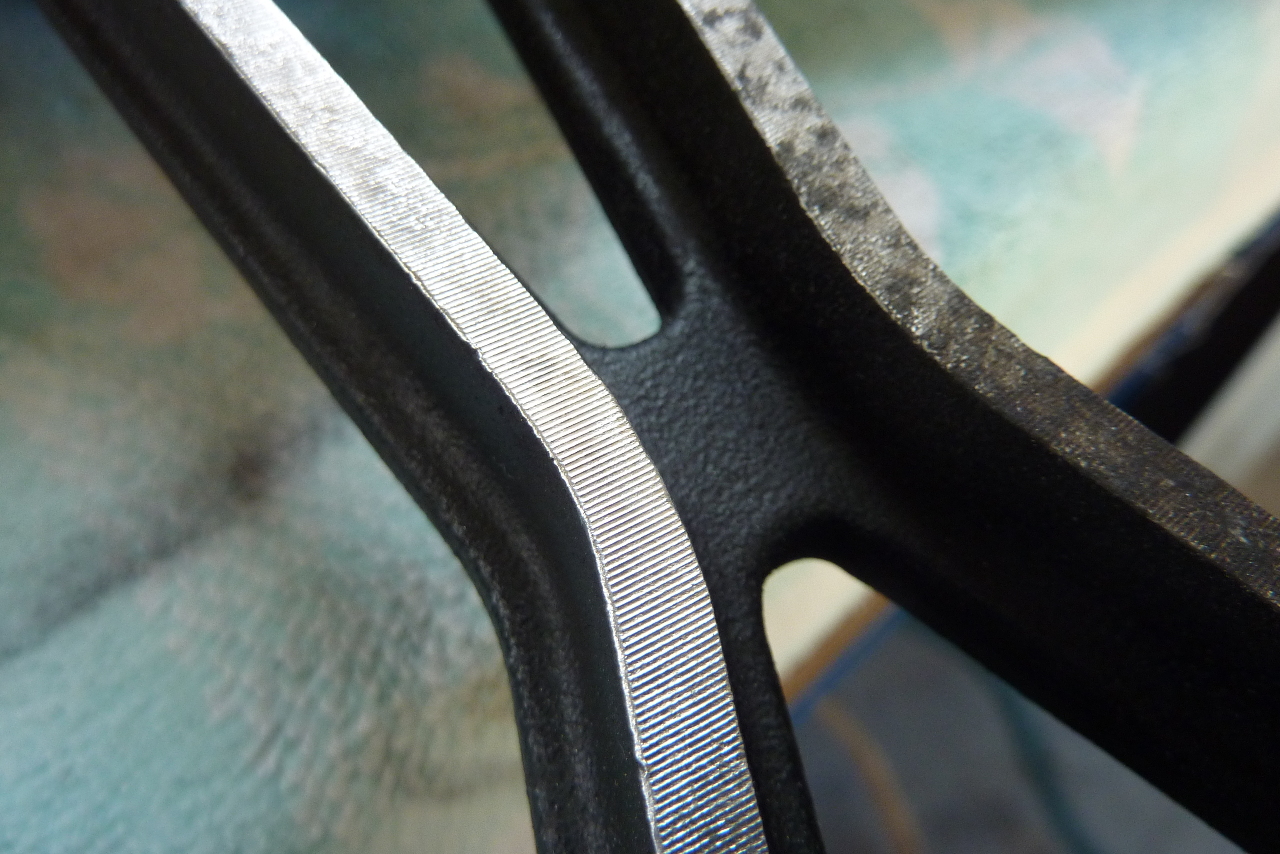
 The spokes are going to be difficult to clean.  The machining on them is very pronounced. You can see the grooves here and they are going to be troublesome to clean.
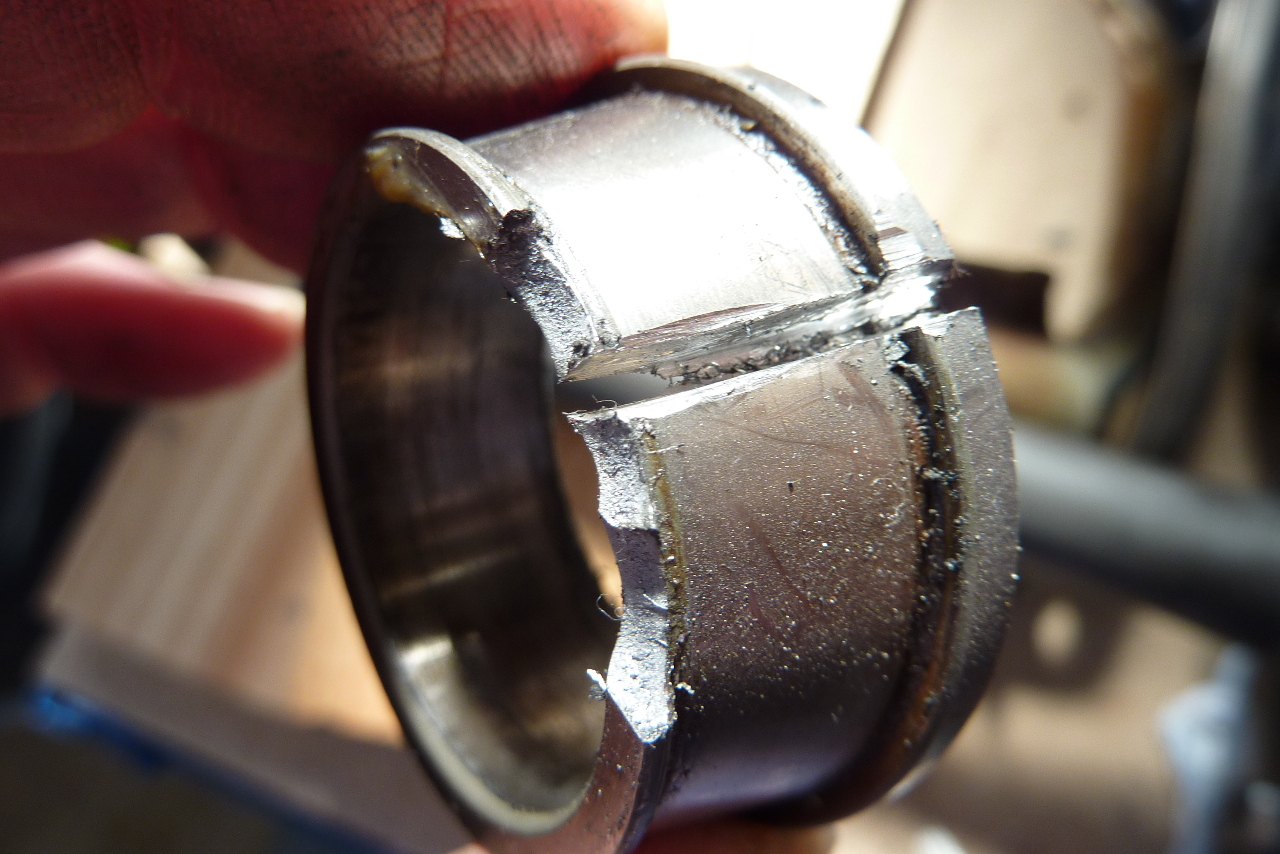
 The wheel bearings will be coming out at some stage.
 This is a close up of the rim.  Not very nice.
I started off using 400 grit and doing one side just on the rim.  That was about an hour.  This took off the worst of the oxidisation but still left mottling on the metal. (click on the image to enlarge).  It looks OK from one angle then you move to another angle and you see this:
So I tried a variety of different buffing and polishing techniques; Autosol (aluminium polish) by hand and with a Dremel buffing attachment, then a car paint restorer and finally Brasso with a Scotchbrite pad.
This product has been around for ever.  I remember my Dad using it to remove scratches from his watch glass.  It smells yuk but it is rather like a fine grinding past and with a bit of elbow grease (not available in a tin sadly) it does the job.
Not a bad before and after shot eh?  Today I did one side of one wheel which was probably 2 hours in total.  I am thinking that although the paint is OK I will probably go over it with Humbrol Enamel and do it by hand.  I saw someone else had done this with a great result.  Sure as anything beats masking these things up with 1,000 yards of tape and rattle canning them.  After painting the black and doing all the polishing, I will experiment with painting them with a 2 pack satin clear coat.

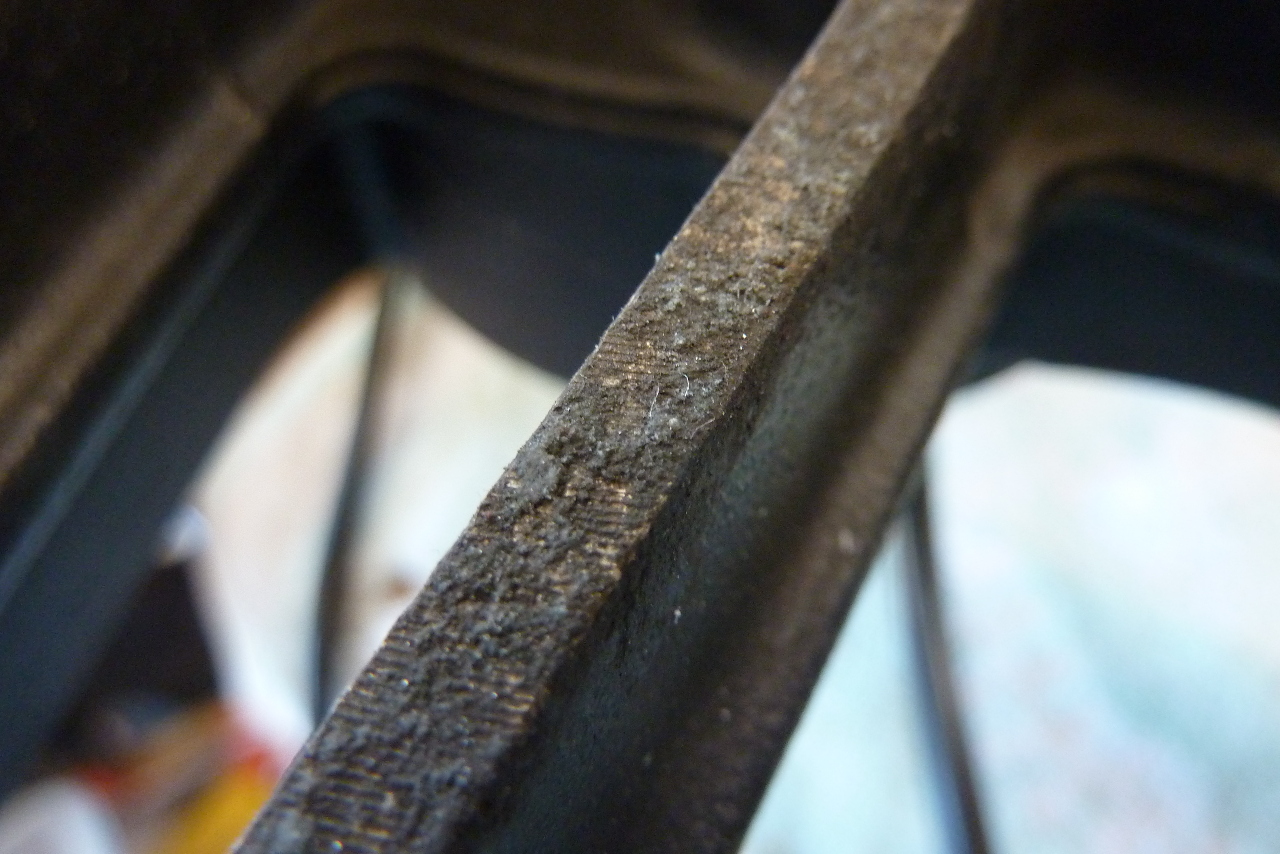
The spokes were a different matter.  Due to the machining which has left deep grooves, it is not really possible to possible this part.  I used a Dremel with a small wire brush attachment in the first intsance.  The spokes looked like this to start with (click image to enlarge):

 
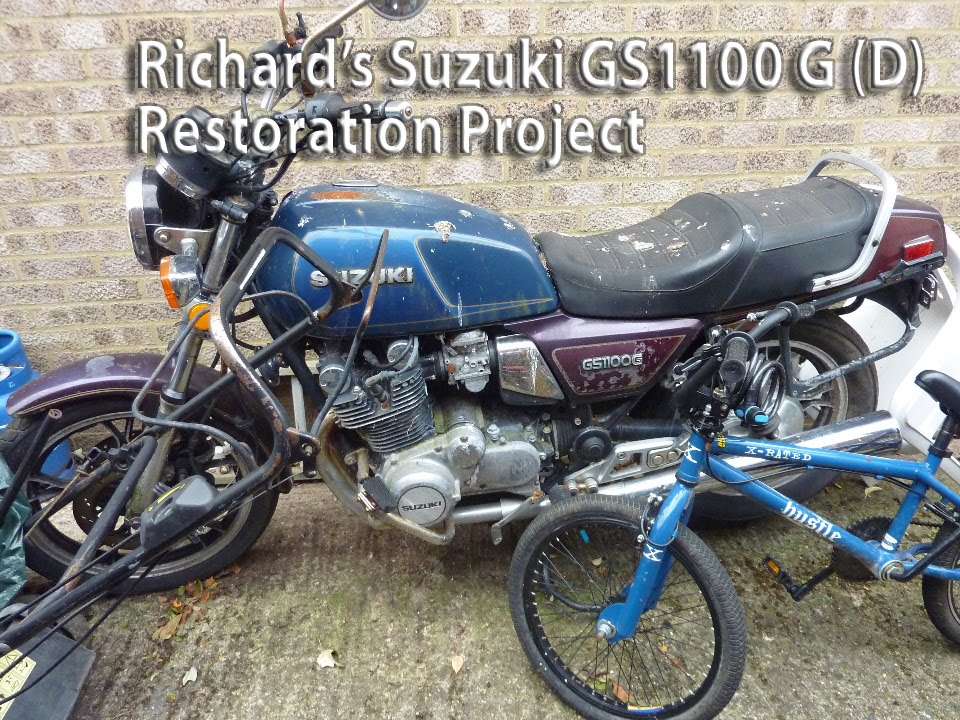
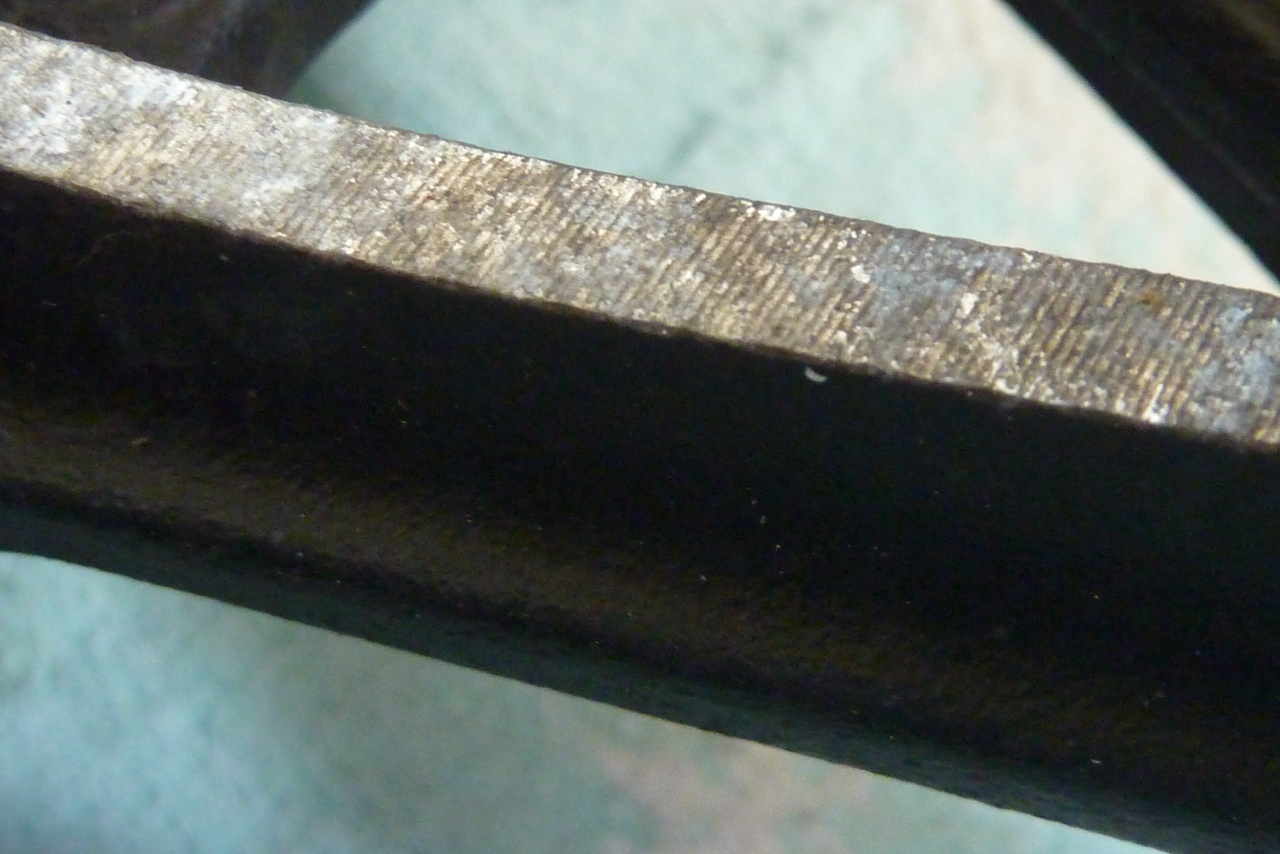
 So I started on them with the Dremel.
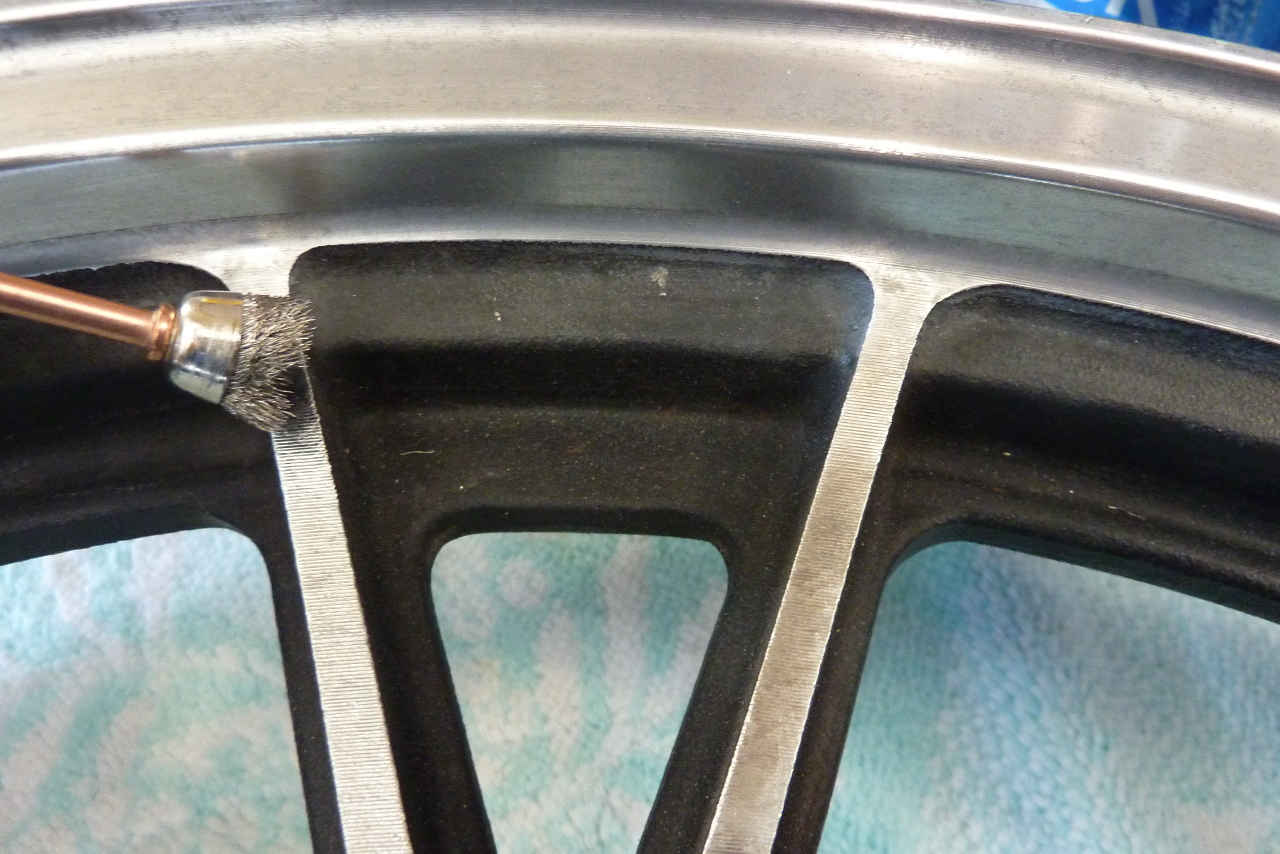
 And they end up like this.  A slight worry is that the steel brush is actually taking away too much of the metal and the grooves are beginning to disappear.  I have ordered some brass brushes to see if they will be less aggressive and still get the job done.
 The before and after spoke - speaks (past tense of spoke?) for itself.


Thursday 11 April 2013

Top T Race Removal

Still working on the forks and trying to get all the pieces together to send to the powder coating shop.  I had to get the final bearing shell / race off the top T.  No welding equipment available here.  I had read somewhere about the method I have used here so I thought I would give it a try.  I guess it was my only option as there was no moving it by any other option.  The idea is to split the thing with a Dremel and brute force. 
Looking good so far but need to go deeper.
But not too deep.
 Then give it a good whack.
 

 And it pops off.
And don't fret too much about a few scratches here and there.  Shame the last photo here was taken at the wrong resolution.  See the damage was only minor.

Wednesday 10 April 2013

Frame Preparation (Day 232)

You get the wheels off, the engine out and the forks unloaded and you might think the frame is ready to go the powder coaters.  Well you are wrong.  There is loads more stuff to come off the frame and then you have to prepare the swing arm.  After that you have to find all the other bits that you want powder coated in the same batch but you have put away in boxes and lost months ago.   First take off all the nuts and washers from the suspension that you have left behind:
 Then remove the side stand and main stand.


 Keep track of the locking pins.
   Then there are rubber bits that have to come off like this rubber grommet in the middle of the picture.  Can't think what it's for now.
 And there are loads of these side panel retaining rubbers.  I was pleased that mine were still pliable enough to be forced out.  They will hopefully survive the re-fitting punishment as well.
 Then we unsuccessfully tried to get the stickers off.  Even with heat gun treatment we couldn't do it.
I even had to lose my Canada sticker!
  And finally ready for the powder coater.
 
 Oh one other thing.  All the bearing races need to come out from the frame and swing arm.  This will save the powder coat being damaged if they are removed afterwards. (The truth is that I knew none of this but I have a Guardian Angel looking over me who also happens to have one of these!)
 Right then fire it up and get 'em out.


 No kidding.
 On this one you can see the stainless weld have drawn the race away from the frame by almost 1mm in places.

And this is what they look like when they fall out.  You do have to be careful that you don't weld the race in!  So a steady hand is needed.  It wasn't mine.

Sunday 7 April 2013

Wheel and Tyre Strip (Day 232)

I have been spending too much time on my carburetors.  So we move on.  The sun has been peeking out a little today and it's possible that we may even see a spring being sprung.  Front wheel first.
 

 They don't look very good.  Just wait for the "before and after" pictures!
 Flatten out all the retaining washers on the disks.
 
Now the rear wheel with the shaft drive hub.  Loosen pinch bolt holding wheel spindle and punch out.

 Oh BTW (no one tells you this) but if you want a tyre shop to take off the tyres for you, you are better off leaving the disks on.  They can be used to grab the wheel in the tyre removal machine.  Or if you have already taken the disks off you have to remove the tyres by hand.  I was lucky.  I had a forgiving mentor who did it by hand for me at a local tyre shop with rim protectors and years of previous experience to boot.  Here are the old tyre sizes.