Thursday 21 March 2013

Front Fork Removal

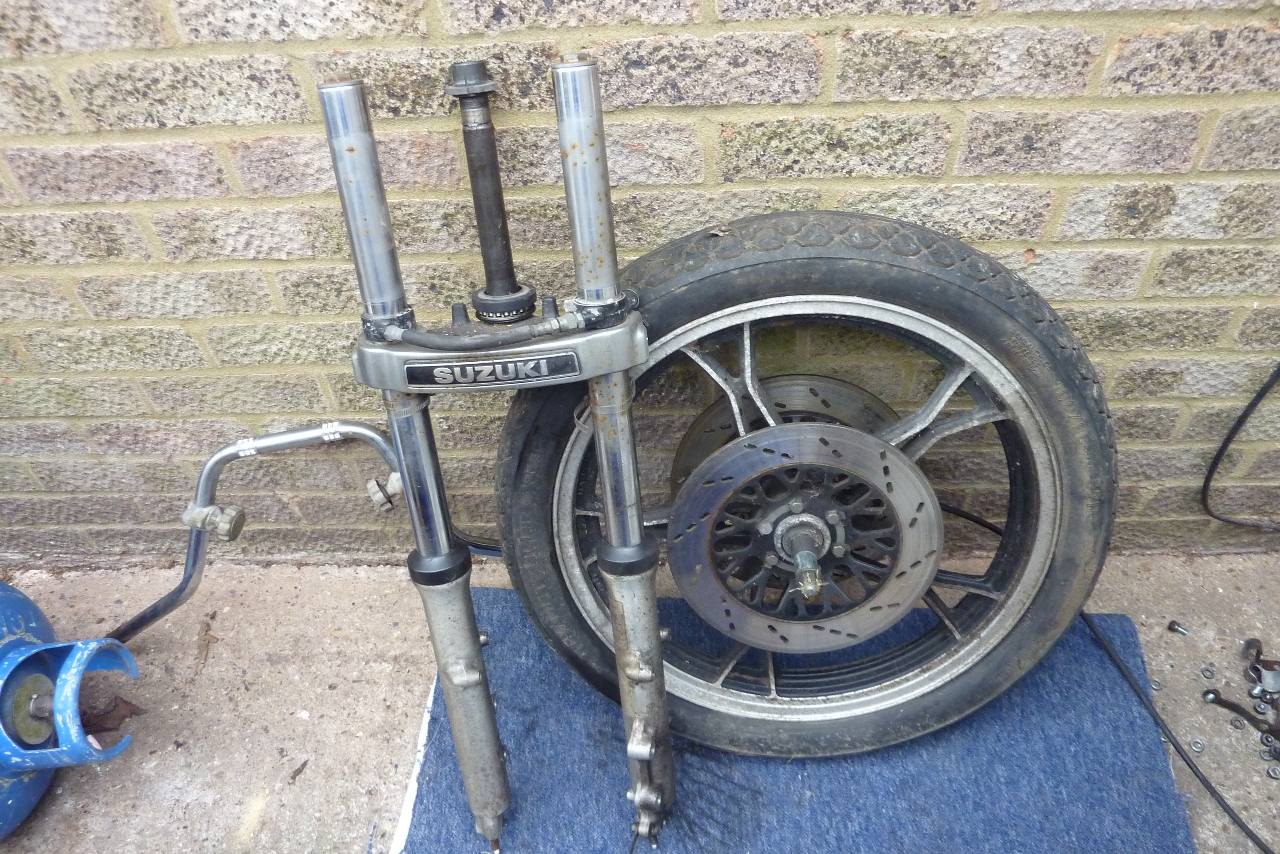
 Getting down to the final parts of the rolling chassis dismantling now.  I needed to prop the frame up with an old gas canister in order to 
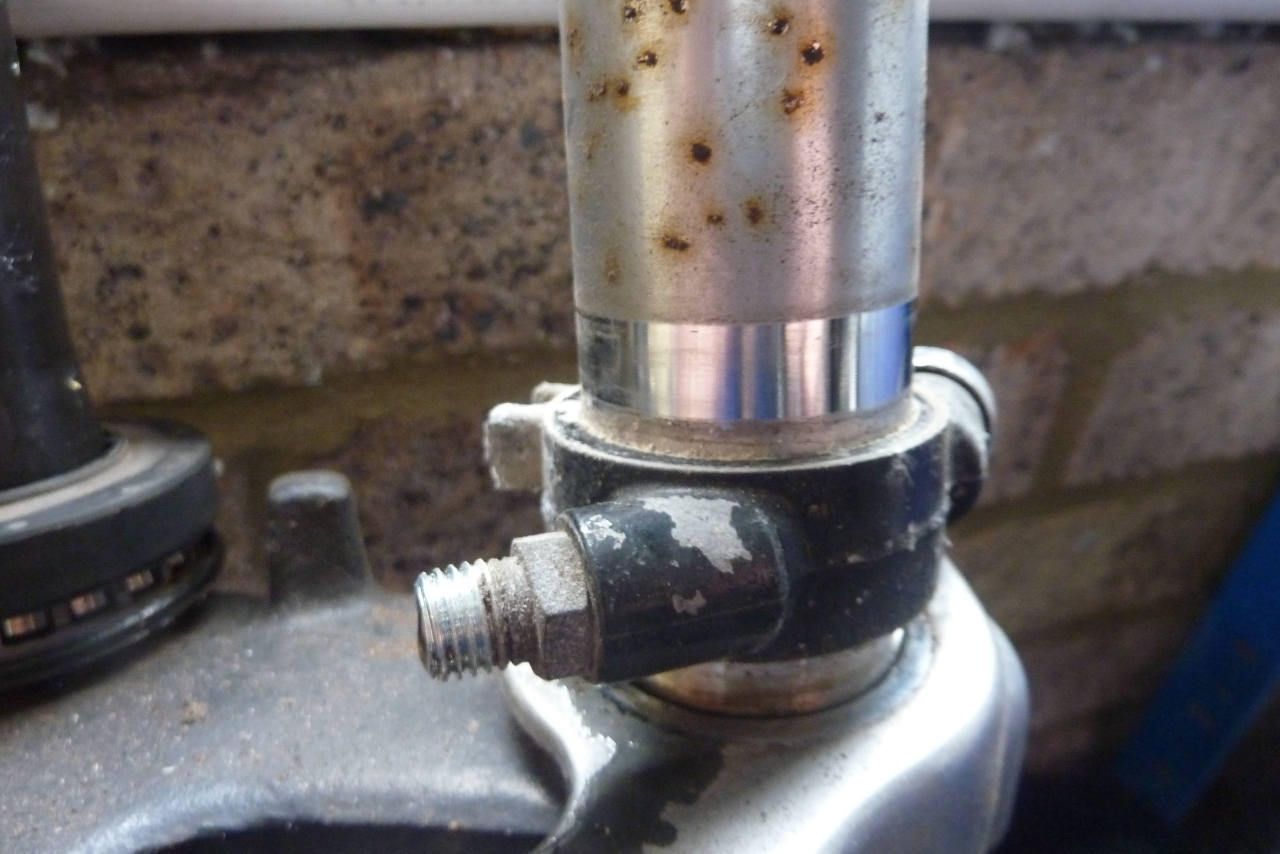
complete this task.  Loosen off the fork tops before undoing the T clamps.  Just makes it easier in the long run.  I started with the 
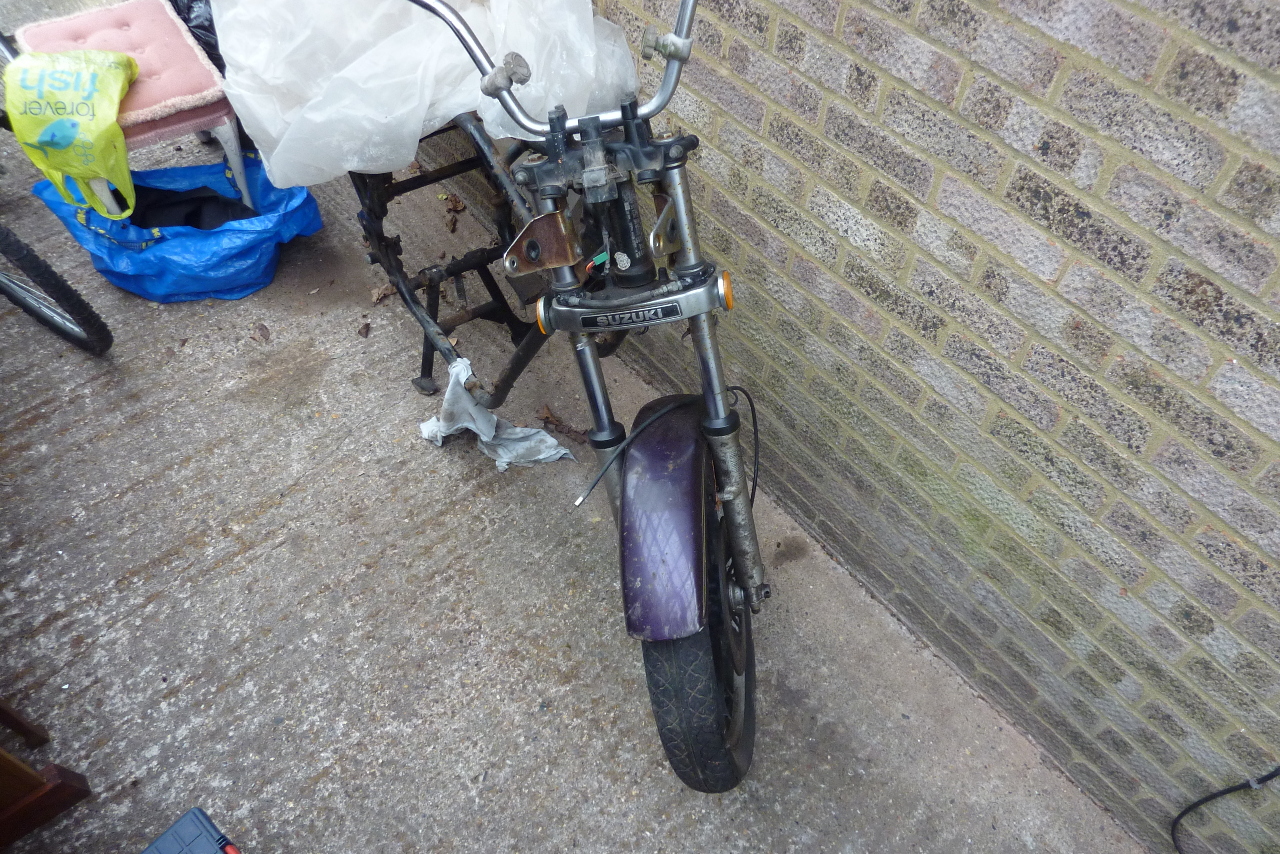
removal of the front wheel (this is why you need to have the bike 
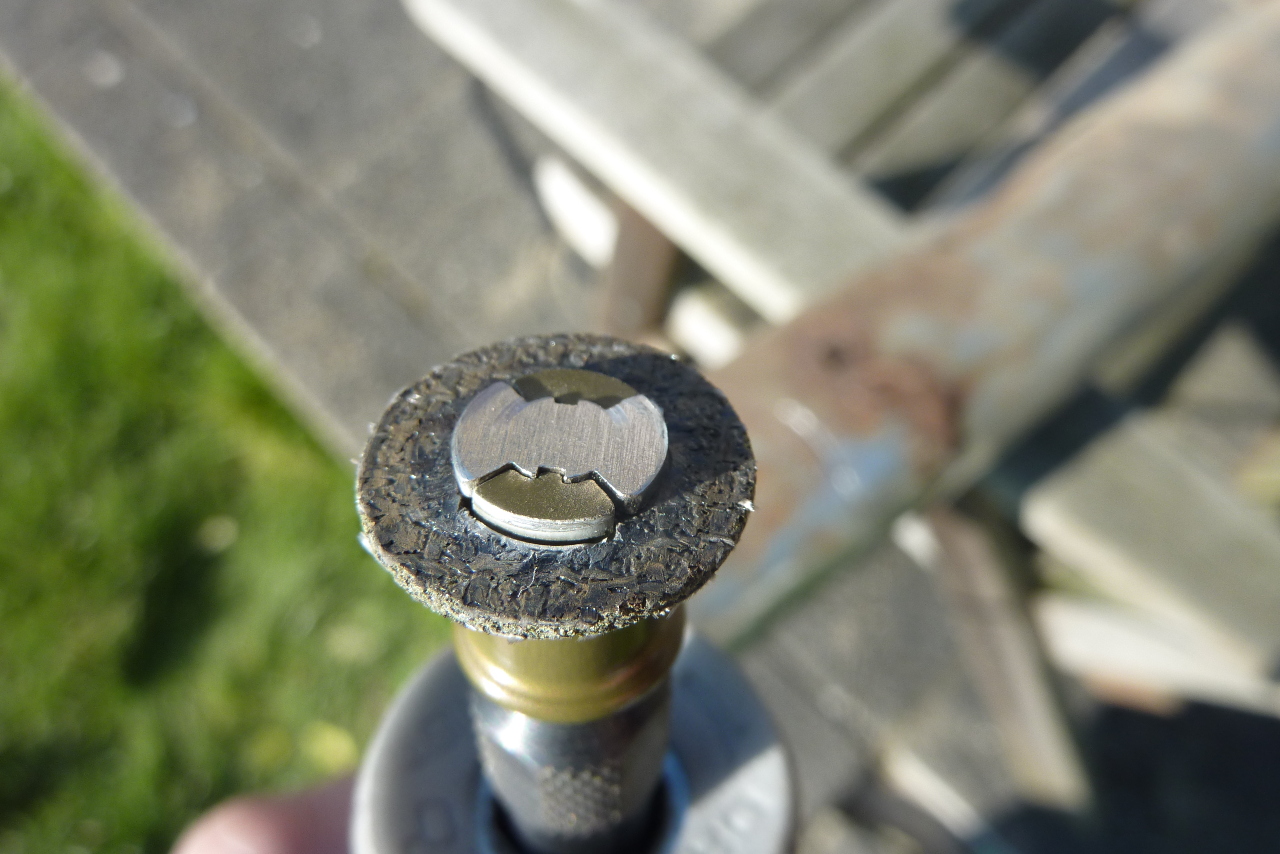
propped up) but taking off the fork end caps.


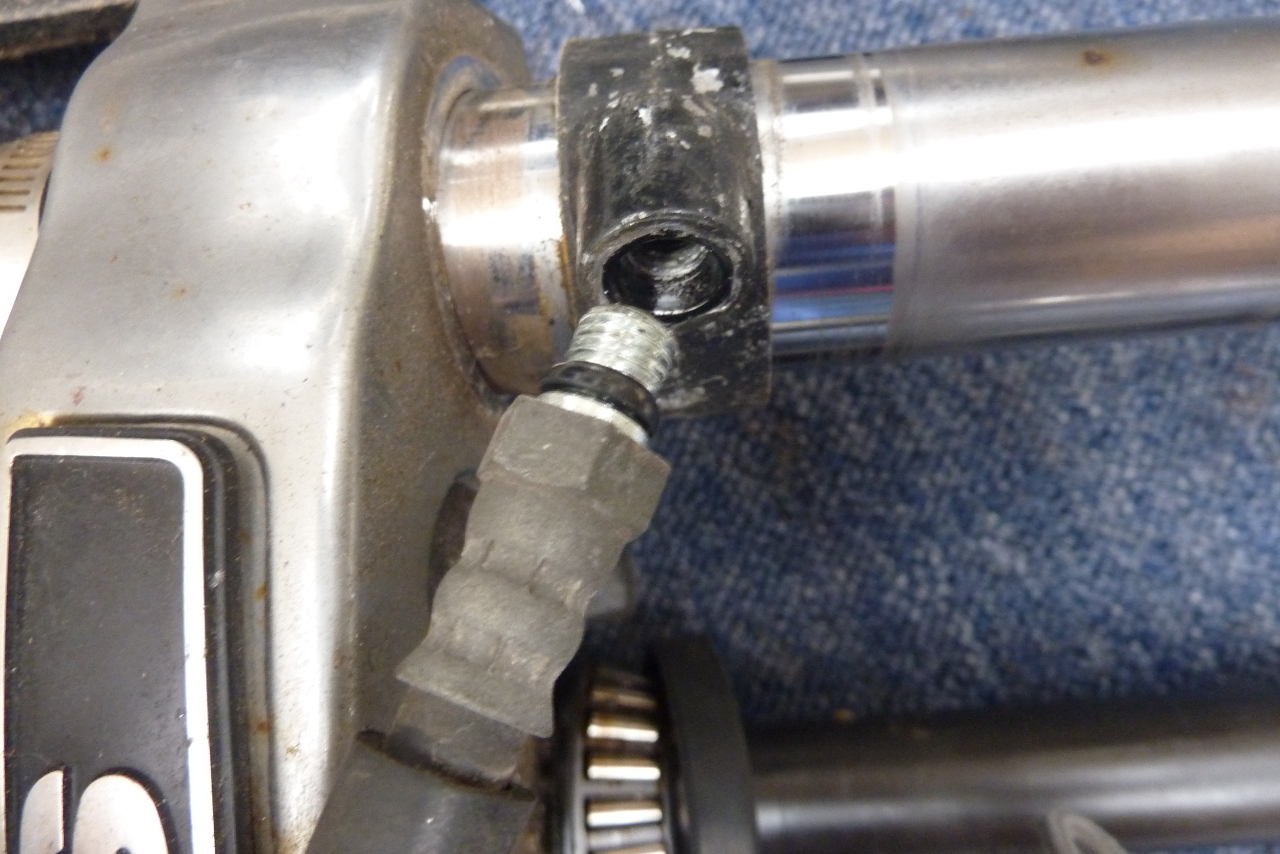
 Only loosen these clamps after you have loosened off the fork caps.
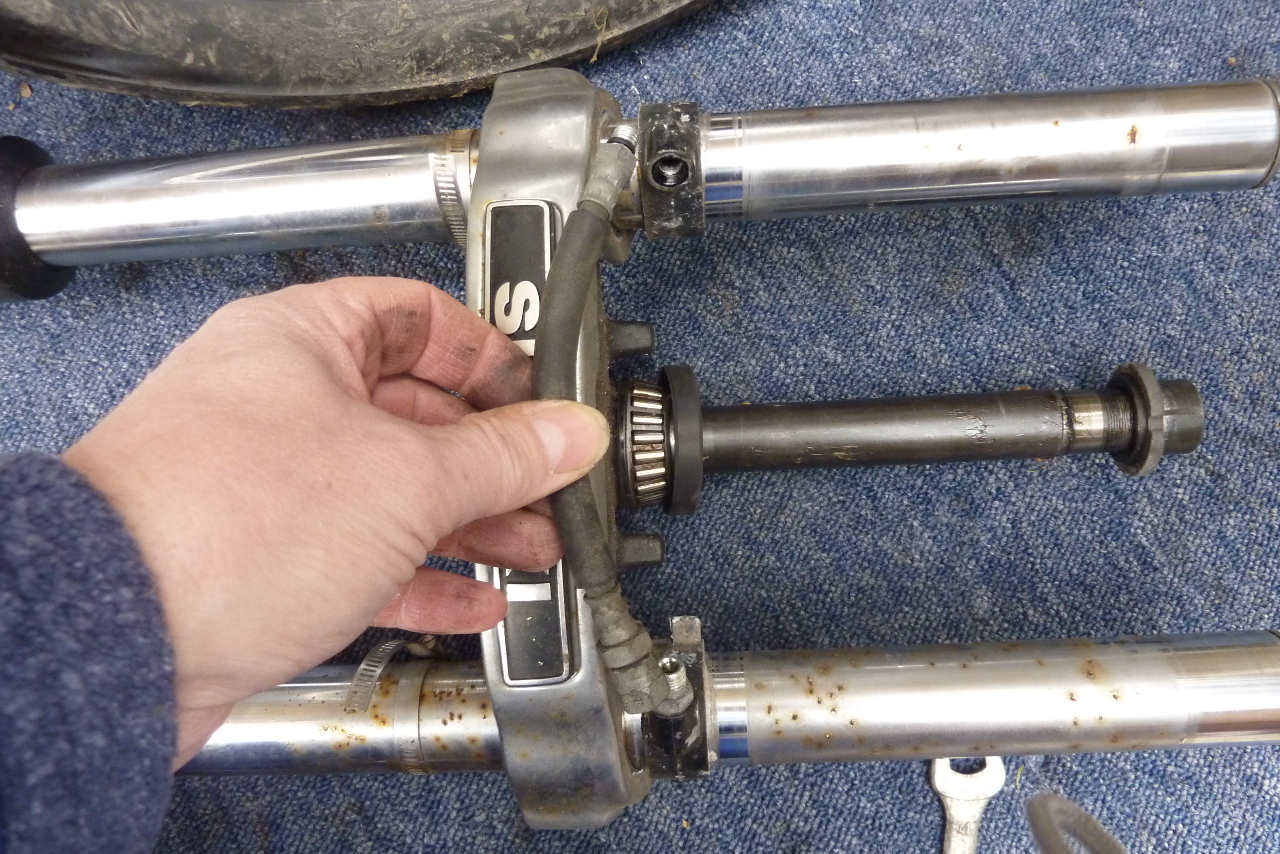
 Then take off top T.


 Top T.
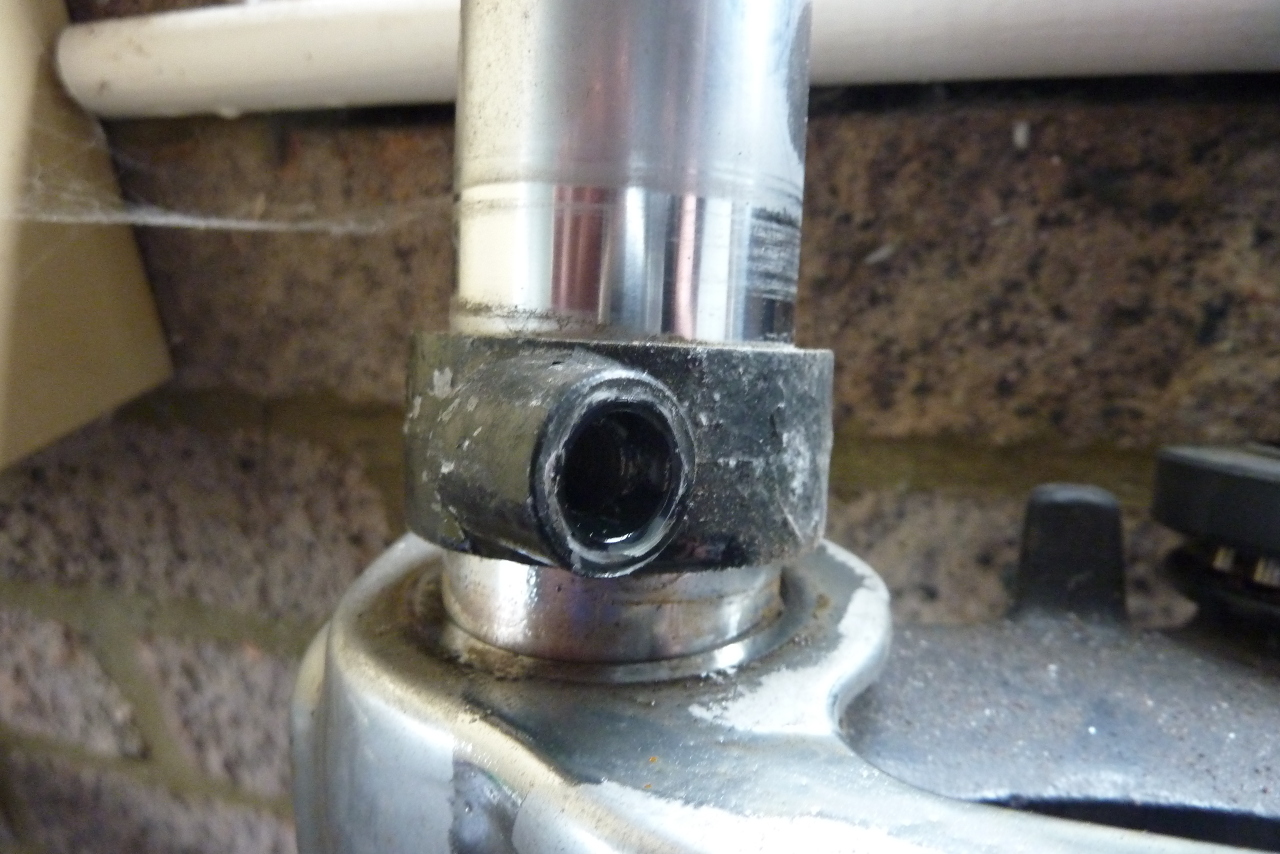
 Ignition key assembly bolt.
 Unscrew steering head assembly.
 And remove forks and bottom T in one go.
 Check upper steering head bearing . .
 and shell.
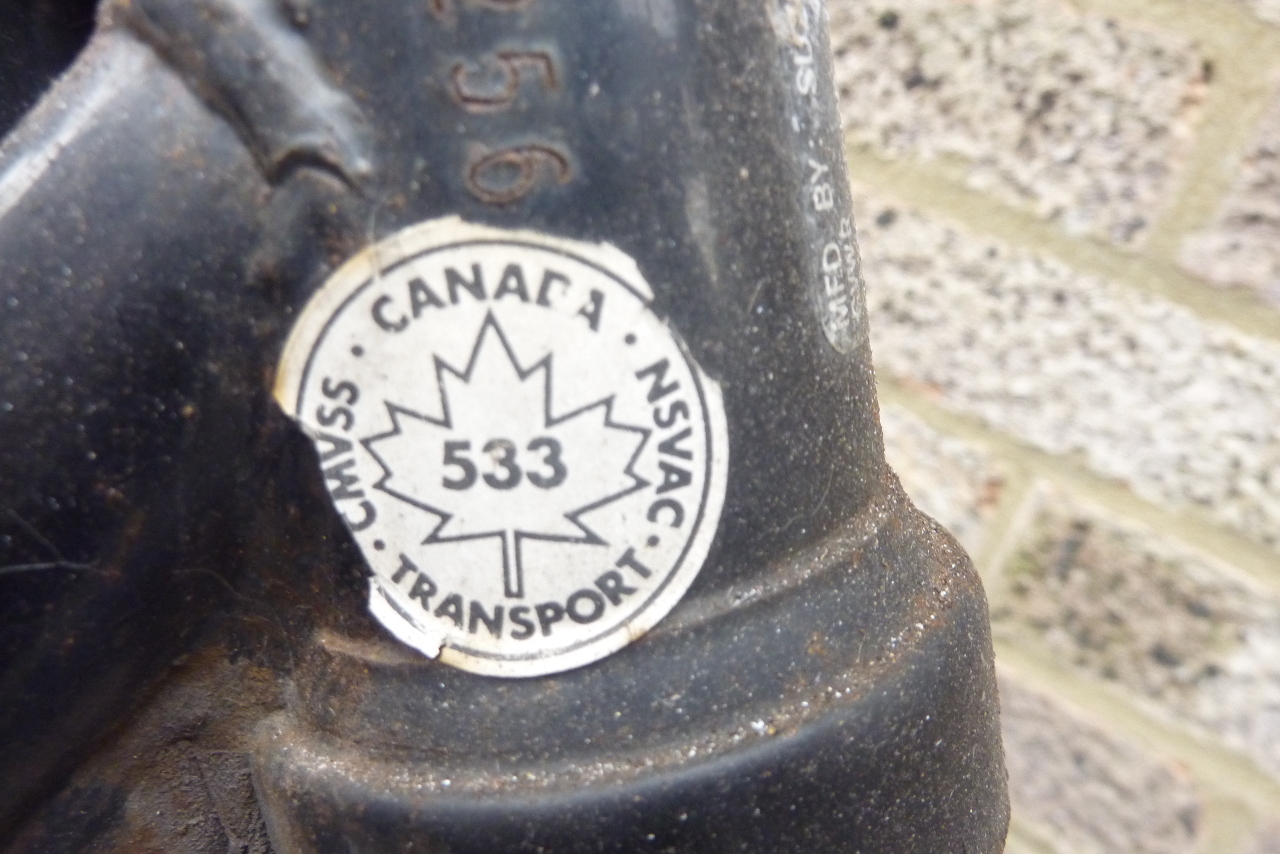
 I must keep my little Canada sticker.

Wednesday 20 March 2013

Cleaned Carburetors (Day 214)

Got the carb shells back from vapour blasting today.  So here is a reminder of the "before".  These carbs have been described as "the worst I have ever seen" by some (click image to enlarge):


And now for the "after":
Click these 2 to enlarge to get the full detail.

Sunday 3 March 2013

Exhausting Pipes (Day 197)

 The other day the sun came out.  This is a very strange occurrence at this time of year in the UK.  So I took the opportunity of experimenting on an exhaust pipe (muffler) dissection.  My exhaust pipes are shot (see: Exhaust Pipes Removed) and there is not much to loose by cutting them up.  I bought another identical set which are in much better condition but still have a baffle loose inside.  So I want to find out if there is any possibility of cutting into to them, fixing them up inside then putting them back together again.  I have seen on the forums how you can cut into a petrol tank and then braze the patch back in.  I have yet to find someone to do this for me but I thought I could a least start the cutting up process.  This was the idea:

This was the lovely day.
And this is one of the rubbish pipes.
So I starting cutting.
Dremel didn't last long.

But I did make a start.
This was what was rattling inside.
And this little critter obviously couldn't find his way out.
I need bigger tools.  Don't we all.

Front Air Suspension

I have what seems like non-standard front forks.  I cannot find any manual or parts fiche that refers to this set up.  I have a balancing tube between the 2 fork stanchions and I can't see how to get the bands off to enable me to remove the forks from the T.  Here is the air balancing tube.  This also confirms that the model I have is a 1983 GS1100G even though the plate indicates a manufacturing date of December 1982.
 I can take the balancing tube off easily enough.


 But it looks like these black metal bands around the stanchions are non removable.
 Any ideas how they come off?  I can't get the forks out of the T with them on like this.
So I took advice (GS Resources Forum) and within minutes I had the answer.  These black collars are hollow and there is a hole into the fork stanchion.  There are rubber O rings above and below the hole and it all looks like this:
 A bit of concoction (50% thinners and 50% brake fluid) applied around them and they started to move.  But just like loosening off the fork caps before you loosen the T clamps, it would have been easier to do this with the forks in situ rather than trying to stop the thing slipping through your oily hands.
 
 And I found this the other day.  The original has survived.
 Oh and I bought some JIS screwdrivers (from the US), some carb cleaner and some petrol proof clear cote laquer which I am going to experiment with on the carbs and some stronger drill bits.  I seem to be doing quite a bit of "drilling out" of things at the moment.